
Tile Adhesive
TILE ADHESIVE RANGE
Two Carbon Epoxy Products for Large-Format Tile
Both are two-component epoxy pastes (Part A epoxy resin, Part B hardener, mixed 1:1 by weight) built for sintered stone, porcelain slabs and natural stone on smooth substrates. Choose the Tile Adhesive when you want to spread and lay in one step, or the Bonding Agent when you want the lowest material cost by pairing a thin coat with ordinary cement mortar.
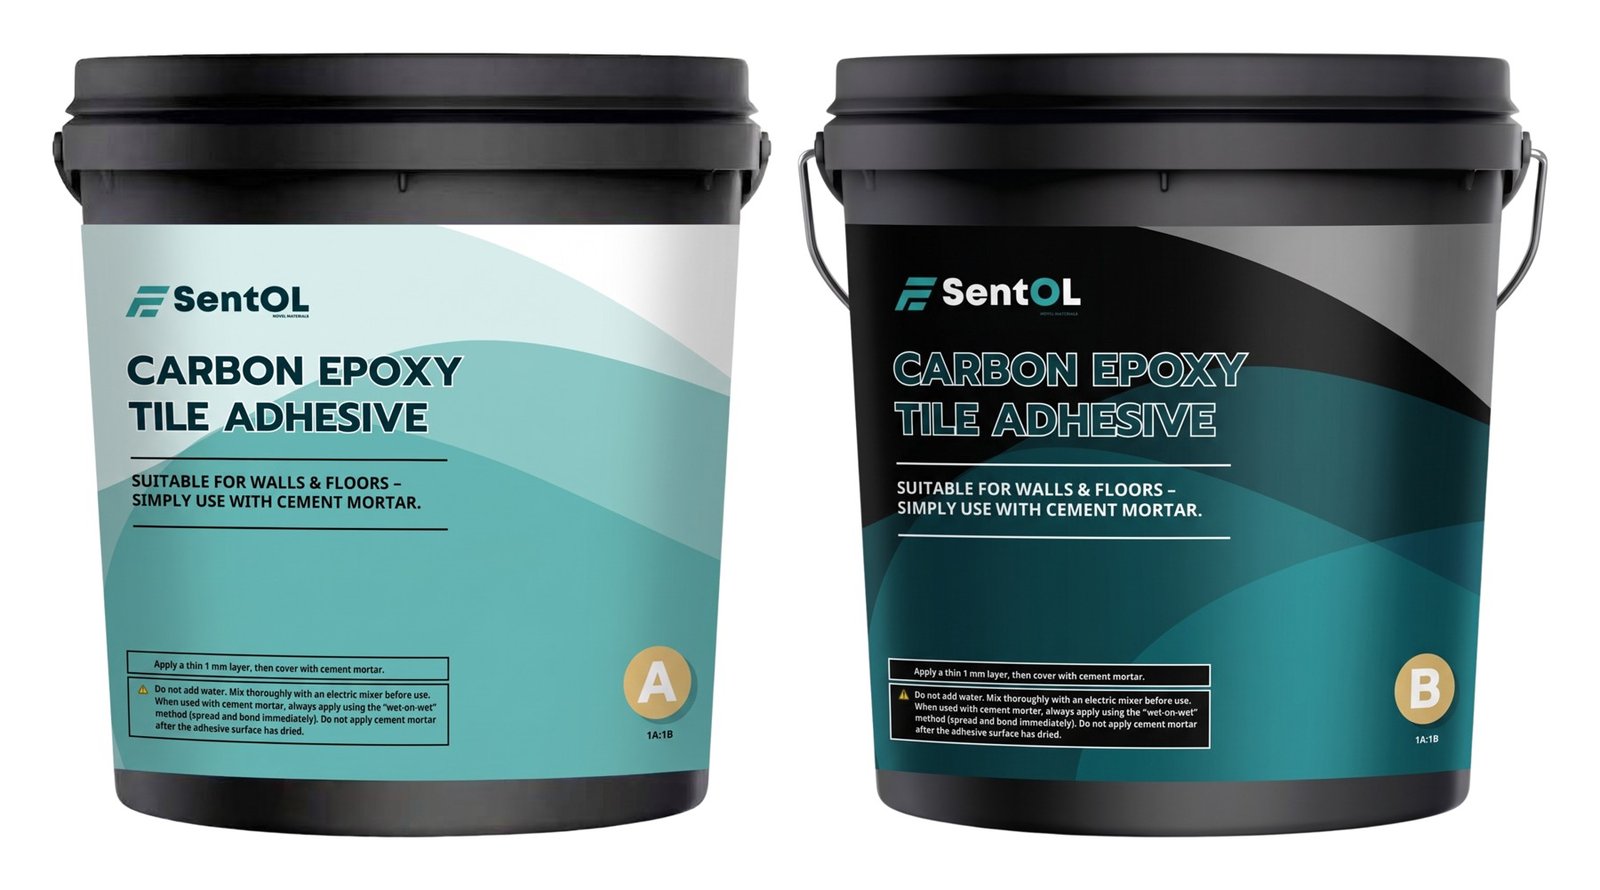
PRODUCT 1 · GREEN HARDENER
Carbon Epoxy Tile Adhesive
A complete adhesive: comb it onto the wall or floor with a notched trowel at 1–5 mm and bed the tile straight in — no cement mortar, no back-buttering, no tile-back adhesive. It holds the heaviest sintered-stone slabs and can be laid directly over existing tiles.
Notched-trowel application at 1–5 mm; the tile goes on directly.
Bonds to old glazed tile, smooth concrete, waterproof membranes, metal and glass without roughening.
About 0.5–2.2 kg per m² depending on bed thickness — a fraction of cement-based adhesive.
Enough open time to position large slabs accurately.
| Technical data | Value |
|---|---|
| Part A / Part B | Epoxy resin paste (off-white) / amine hardener paste (green), 1:1 by weight |
| Bed thickness | 1–5 mm, notched trowel |
| Consumption | 0.5–2.2 kg/m² |
| Bond strength | 7–10 MPa shear and tensile (factory data) |
| Tile sizes | All sizes incl. sintered stone and large-format slabs |
| Substrates | Concrete, plaster, old tile, waterproof membrane, cement board, metal, glass |
| Packaging | 20 kg set (10 kg A + 10 kg B) |
| Standard | JC/T 547-2017 R-type reactive resin adhesive |
PRODUCT 2 · BLUE HARDENER
Carbon Epoxy Tile Bonding Agent
A thin-coat interface agent used together with ordinary cement mortar. Spread a 1 mm layer on the tile back, cover it with mortar while still wet and lay the tile — the epoxy layer gives the chemical bond that cement alone cannot achieve on low-absorption porcelain, at the lowest cost per square metre.
Wet-on-wet method: mortar goes on before the epoxy surface dries (about 1 hour).
A 20 kg set covers roughly 25–30 m² at 1 mm.
No need to remove mould-release agent or apply tile-back adhesive.
National testing centre result; R-type standard requires ≥ 2.0 MPa.
| Technical data | Value |
|---|---|
| Part A / Part B | Epoxy resin paste (off-white) / amine hardener paste (blue), 1:1 by weight |
| Coat thickness | 1 mm on the tile back (plus wall if on a waterproof membrane) |
| Coverage | Approx. 25–30 m² per 20 kg set |
| Used with | Ordinary cement mortar, wet-on-wet |
| Bond strength | 4.5 MPa shear (national testing centre); standard ≥ 2.0 MPa |
| Surface-dry time | About 1 hour at room temperature — re-coat if it has dried |
| Packaging | 20 kg set (10 kg A + 10 kg B) |
| Standard | JC/T 547-2017 R-type reactive resin adhesive |
STRENGTH TEST
Strong Enough to Stand On — and Hang From
Two tests from our showroom: porcelain tile steps bonded to a plain wall with a thin 1 mm coat of carbon epoxy adhesive take a person’s full weight, and a single tile bonded to the ceiling holds a grown man hanging from it. No mechanical fixings, no tile-back adhesive — just the bond.
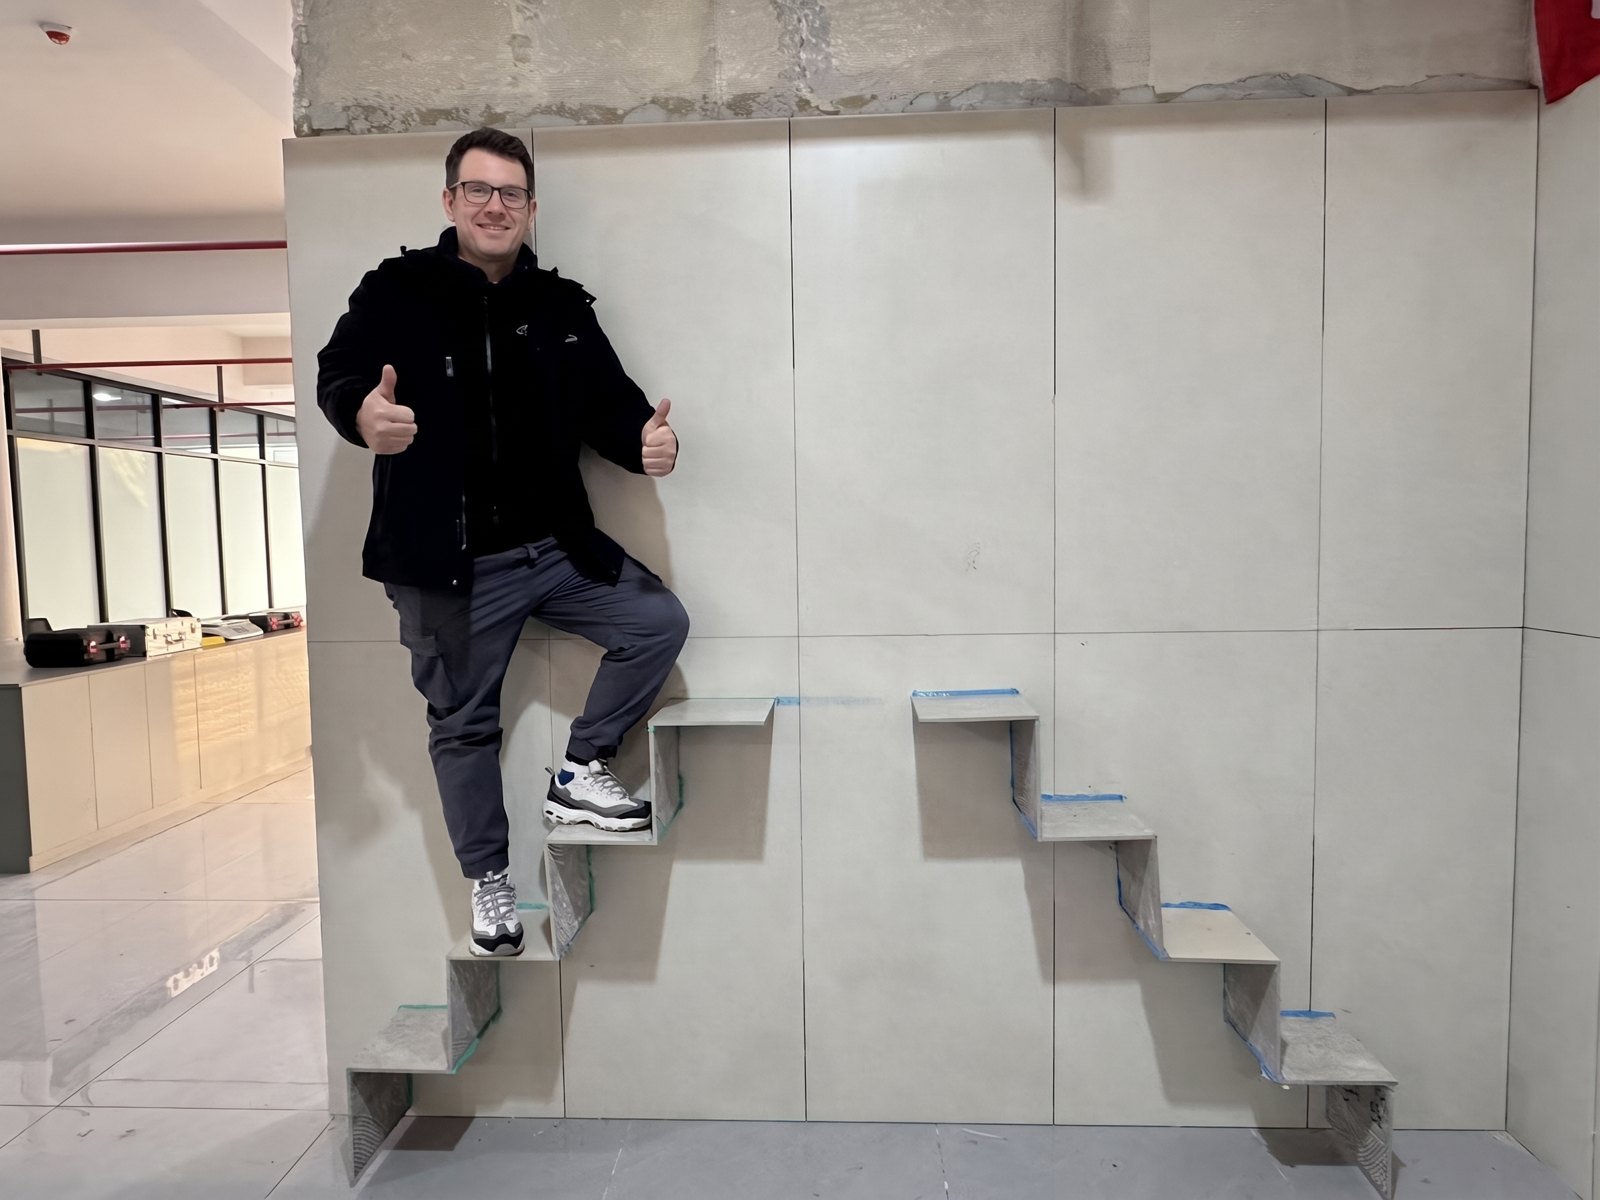
Tile steps on a vertical wall
Porcelain tile brackets bonded edge-on to the wall carry a full adult standing on them.
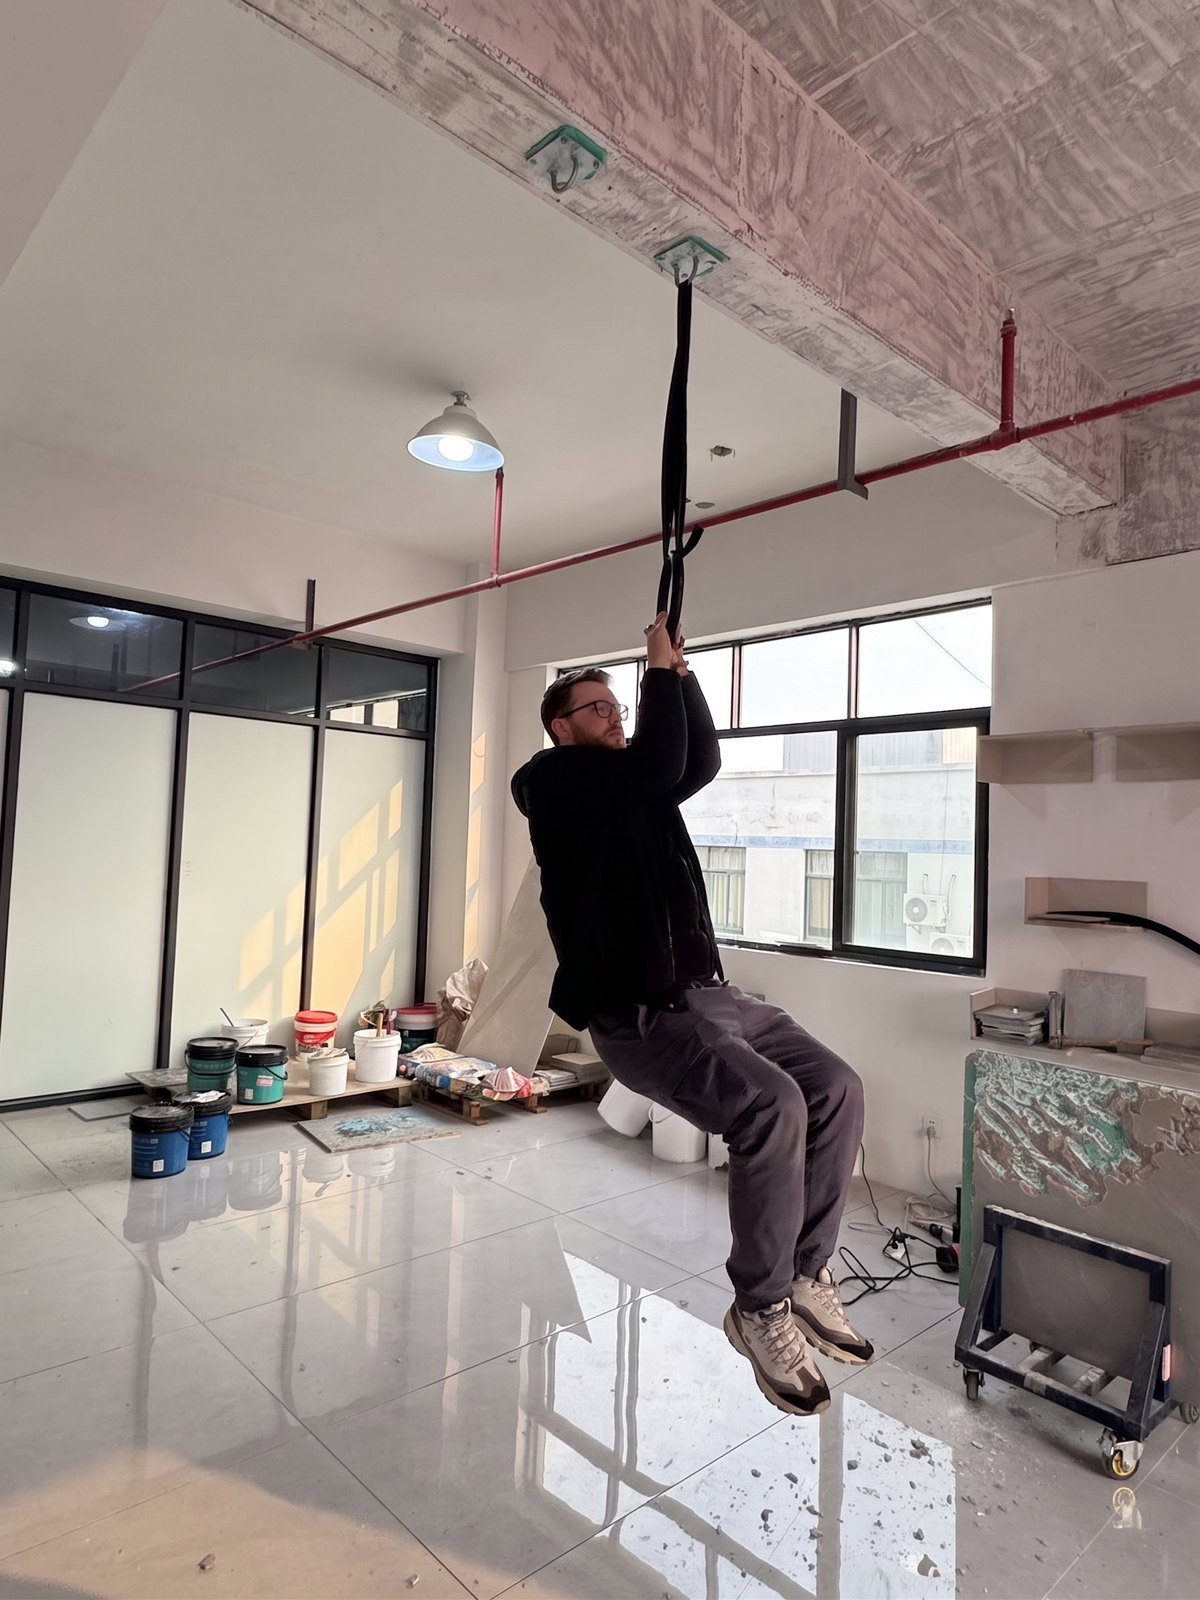
Hanging from one ceiling tile
A single tile bonded to the concrete ceiling supports a man’s entire body weight.
PERFORMANCE
Tested to JC/T 547-2017 R-Type Standard
Carbon epoxy tile adhesive is an epoxy-modified reactive resin adhesive (R-type) — a different class from cement-based C1/C2 tile adhesives. It bonds chemically to the tile as well as mechanically, which is why it holds low-absorption porcelain, sintered stone and marble on smooth substrates without the usual back-buttering or tile-back adhesive.
R-type standard requires ≥2.0 MPa; national testing centre result 4.5 MPa — over 4× a C1 and over 2× a C2 cement adhesive.
Bond strength remains effective after a 100 °C boiling-water test, and the cured film resists freezing to −30 °C.
A 1 mm cured film bends 360° without breaking, so thermal expansion and contraction do not crack the bond.
Bonds straight onto the factory back of the tile — no need to scrub off mould-release agent or apply tile-back adhesive.
Long open time after mixing versus 30–40 minutes for cement adhesives, so large tiles can be positioned without rushing.
Two-component paste with no water and no dust; formaldehyde content not detected in national inspection testing.
WHICH ONE
Choosing Between the Two
Same chemistry and the same bond to the tile — the difference is whether the bed is epoxy or cement mortar.
| Tile Adhesive | Bonding Agent | Cement tile adhesive | |
|---|---|---|---|
| How it is used | Comb on 1–5 mm, lay tile | 1 mm coat + cement mortar | 10–20 mm bed, water-mixed |
| Material per m² | 0.5–2.2 kg | ≈ 0.7 kg + mortar | 10–20 kg |
| Bond strength | 7–10 MPa | 4.5 MPa | 0.5–2 MPa |
| Tile-on-tile | ✔ | ✔ | ✘ |
| Needs release-agent cleaning / back adhesive | ✘ | ✘ | ✔ |
| Mixing | Paste A + B, no water, no dust | Paste A + B, no water, no dust | Dry powder + water, dusty |
| Working time | 120–150 min | 120–150 min | 30–40 min |
| Best for | Fastest install, heaviest slabs, renovation over old tile | Lowest cost per m² with a mortar crew on site | Standard ceramic tile on cement render |
HOW TO APPLY
Two Ways to Lay — Pick One Per Job
Tile Adhesive is laid straight from the trowel. Bonding Agent is a two-step wet-on-wet job with cement mortar.
| Step | Tile Adhesive — direct method |
|---|---|
| 1. Mix | Combine Part A and Part B 1:1 by weight and mix with an electric mixer until the colour is uniform. Do not add water. |
| 2. Comb on | Spread with a notched trowel in one direction, 1–5 mm bed depending on slab size and substrate flatness. |
| 3. Lay the tile | Press the tile into the wet bed with a suction cup or rubber mallet, checking level as you go. |
| 4. Cure | Grout after 24 hours; full strength in 48–72 hours at room temperature. |
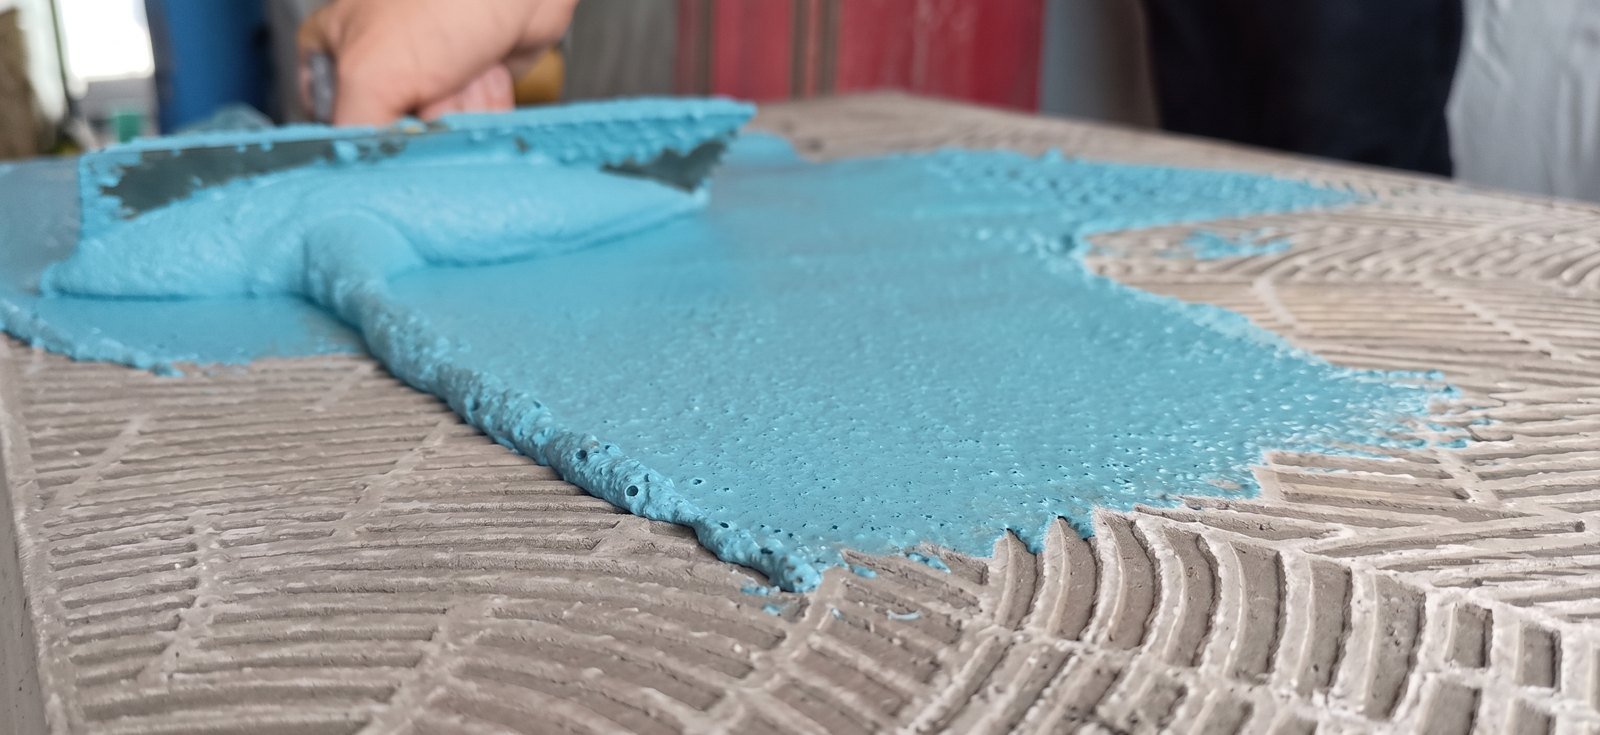
Step 1 — Apply a thin 1 mm coat
No need to remove the mould-release agent from the tile back. Spread a thin 1 mm layer of the mixed carbon epoxy adhesive straight onto the back of the tile with a flat trowel.
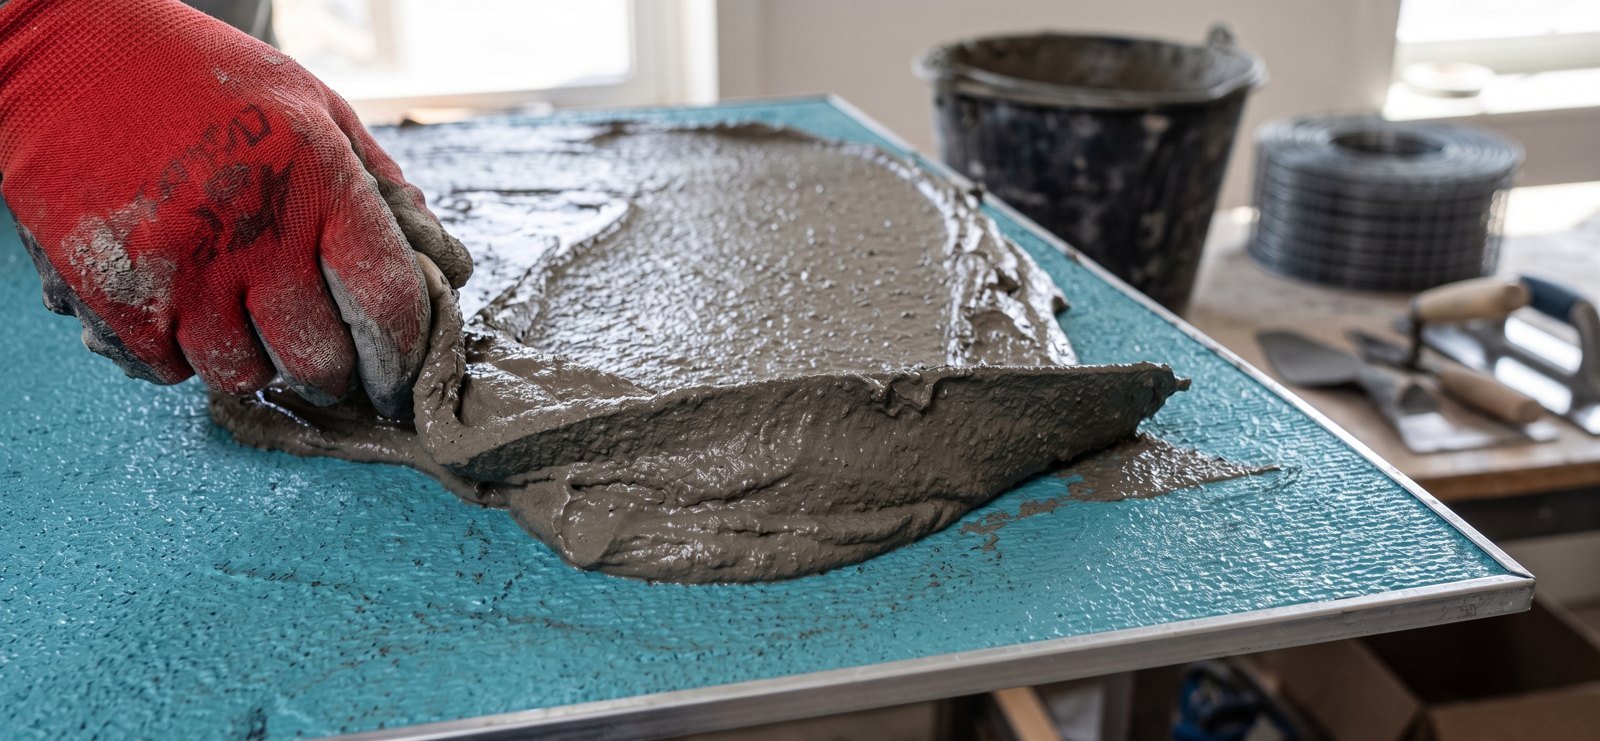
Step 2 — Cover with cement mortar while wet
Before the adhesive surface dries, spread ordinary cement mortar over it, press firmly, and lay the tile straight onto the wall or floor.
| Step | What to do |
|---|---|
| 1. Mix | Combine Component A and B in a 1:1 weight ratio and mix thoroughly with an electric mixer. Do not add water. |
| 2. Apply a thin layer | Spread a 1 mm layer of the mixed adhesive on the back of the tile (and, if the substrate is a waterproof membrane, a thin layer on the wall as well). No cleaning of the tile back is required. |
| 3. Cover with cement mortar — wet-on-wet | Before the adhesive surface dries, cover it with ordinary cement mortar, press firmly and lay the tile directly. Never apply mortar onto an adhesive layer that has already surface-dried; if it has, reapply a thin layer first. |
| 4. Press and set | Press the tile into position. The wet-on-wet interface bonds the tile, the adhesive and the mortar into one layer with no cavities, passing hollow-drum inspection. |
WHY IT MATTERS
Compared With Conventional Tiling
Hammer-test and thermal-cycling comparison of three common laying methods on the same substrate.
| Laying method | Hollowing after thermal cycling | Bond strength |
|---|---|---|
| Roughening primer (tile-back adhesive) + cement mortar | 90 % | 0.2–0.3 MPa |
| Roughening primer + C1/C2 cement tile adhesive | 50 % | 0.5–1 MPa |
| Carbon epoxy tile adhesive + cement mortar | 0 % | 4.5–6 MPa |
DOCUMENTS
Safety Data Sheets
GHS-format Material Safety Data Sheets issued by Changsha Sentol Novel Materials Co., Ltd. (June 2026). Both components are not regulated as dangerous goods for road, sea or air transport.