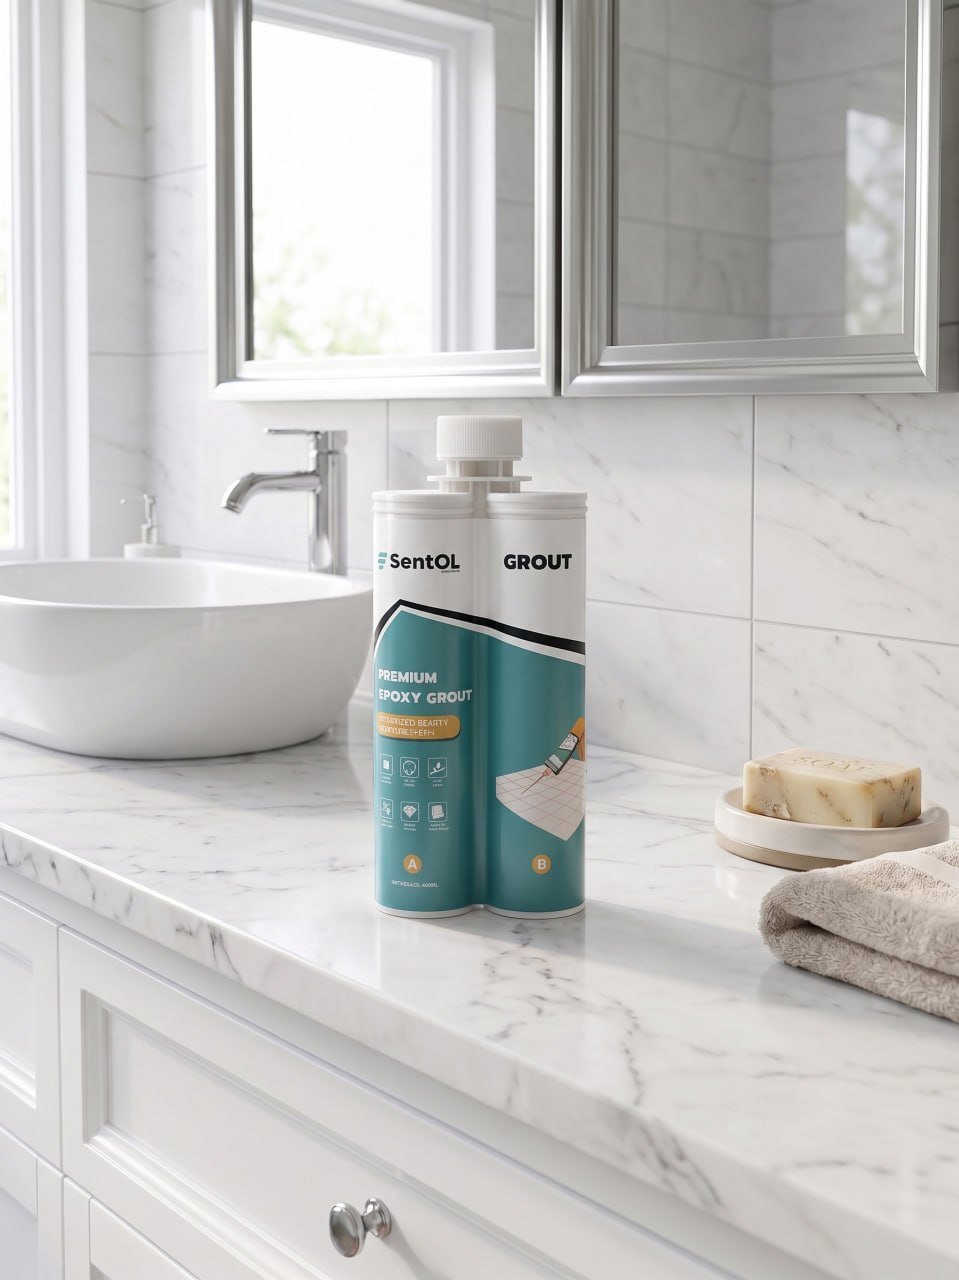
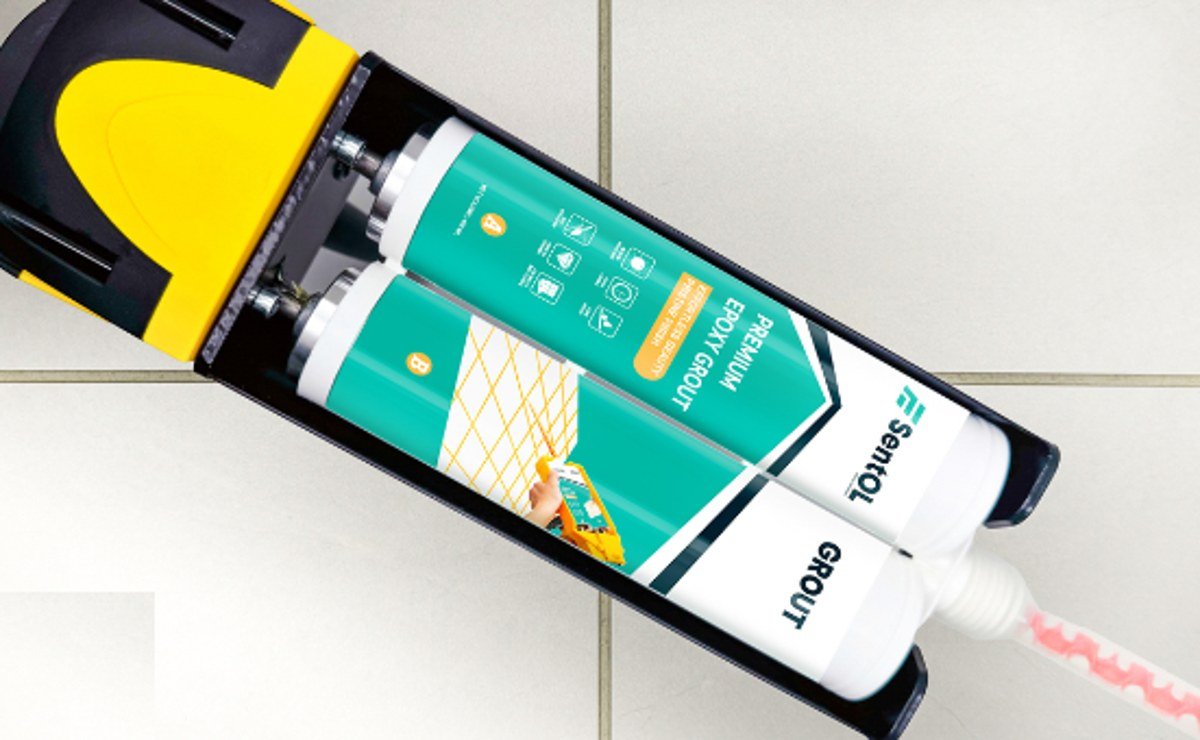
Sentol Cartridge Tile Grout is a two-component epoxy grout supplied in a 400 ml dual cartridge. Part A (epoxy resin and fine silica) and Part B (hardener and colour pigment) stay separated until they meet inside the mixing nozzle, so every bead comes out at the exact ratio — no measuring, no hand mixing and no leftover waste. Once cured the joint is waterproof, stain-resistant and will not shrink, crack or discolour, which makes it ideal for bathrooms, kitchens, swimming pools and any wet area.
Precise Mixing Ratio
Part A and Part B combine inside the static mixing nozzle at the correct ratio every time, with no water and no mixing bucket.
Waterproof and Stain-Resistant
The dense epoxy finish resists water, mould, chemicals and household stains, and wipes clean for years.
No Shrinking or Cracking
Cured joints stay solid and keep their colour, so the tiled surface looks new for the long term.
HOW IT WORKS
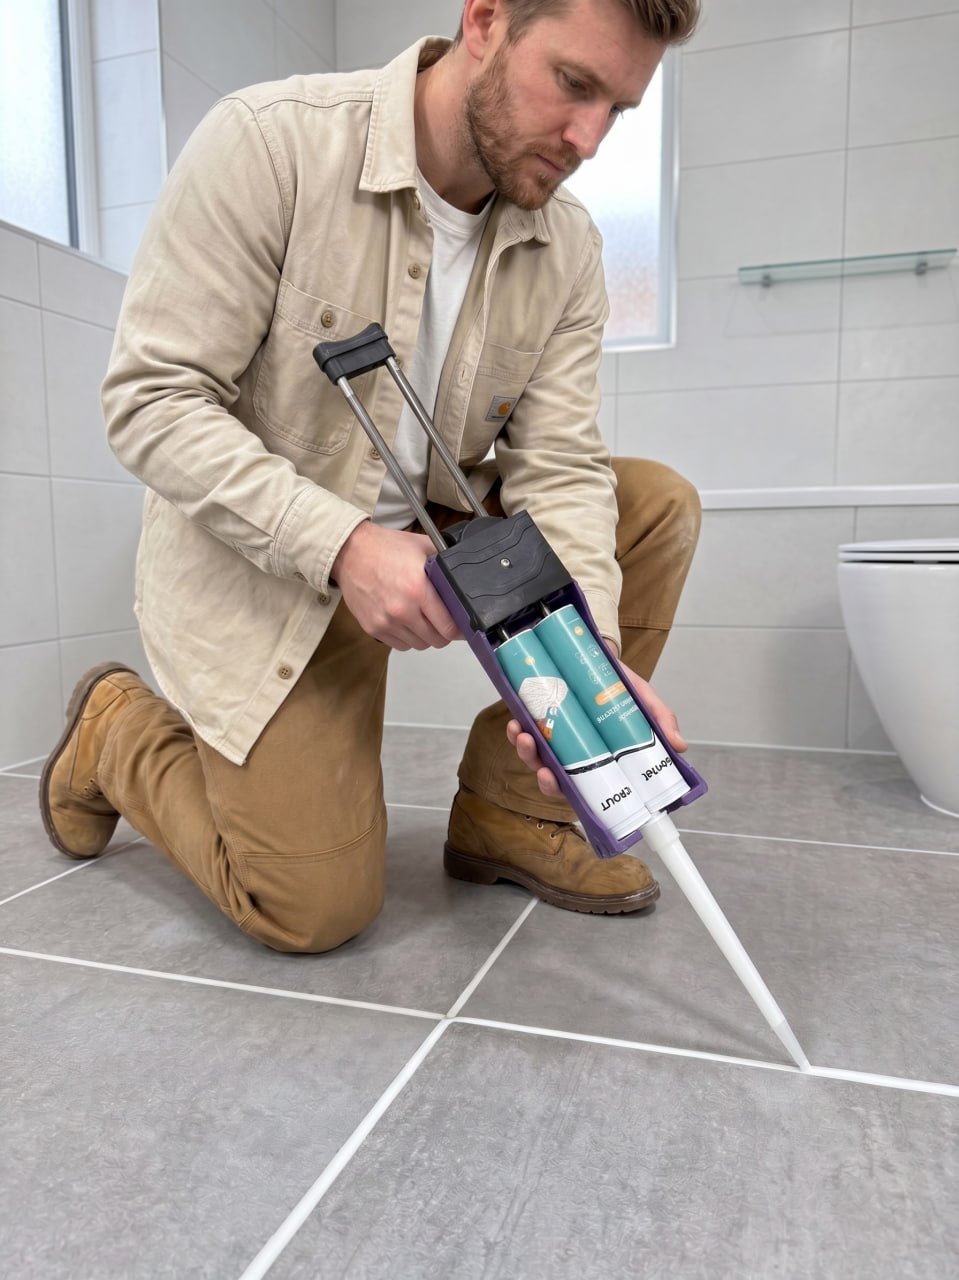
Apply With a Standard Dual-Cartridge Gun
Load the cartridge into any standard 1:1 dual-cartridge caulking gun, fit the mixing nozzle and apply straight into the joint. The smooth paste fills both narrow and wide joints without slumping, and excess is wiped away with a damp sponge before it sets. One installer can grout up to 100 sqm per day — far less labour than traditional bucket-mixed epoxy, and the unused portion stays sealed in the cartridge for the next job.
Up to 100 sqm Per Day
Fast, continuous application straight from the gun with no downtime for mixing batches.
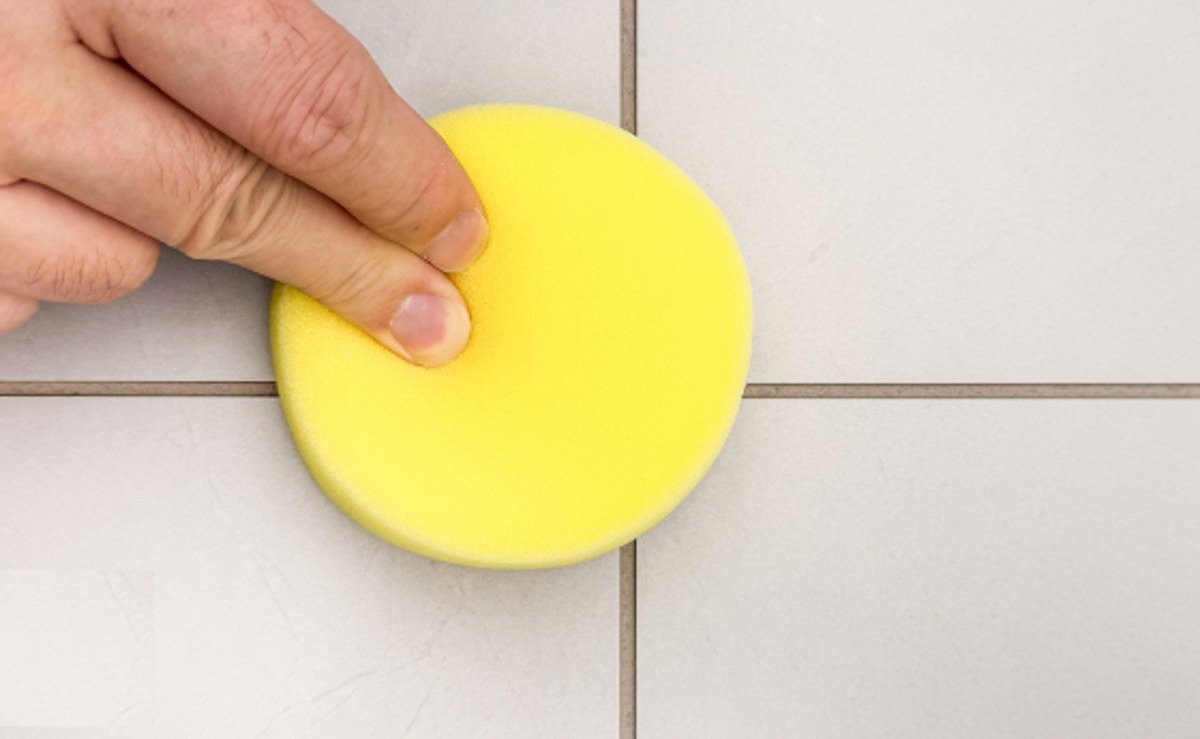
Easy Clean-Up
Wipe excess with a damp sponge before curing — no haze or residue left on the tile surface.
Private Label and OEM
Custom colours, labels and packaging for your own brand, with an MOQ of only 300 units.
HOW TO APPLY
Grouting in 8 Simple Steps
Everything you need is a standard dual-cartridge gun, a mixing nozzle, a rubber press plate and a sponge. Work in sections and finish each one within the 25-minute working time.
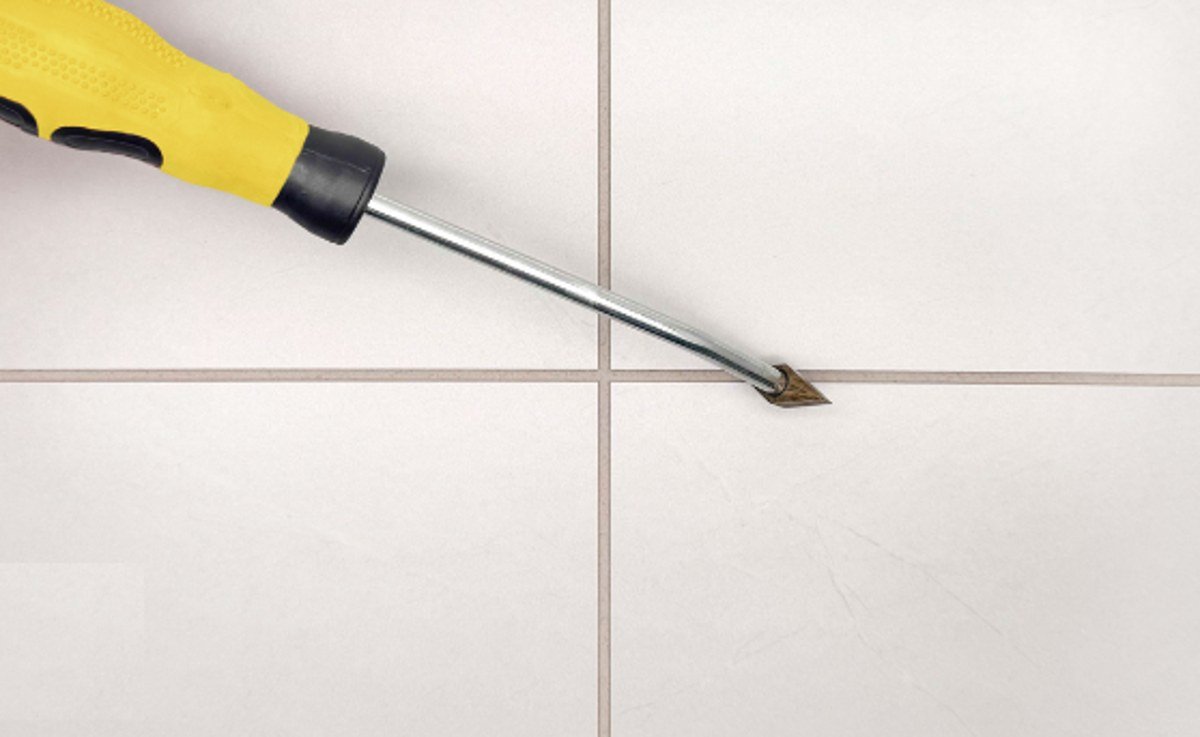
STEP 1
Use an awl to clean dust and debris out of the joint.
STEP 2
Rub wax along both tile edges so excess grout wipes off easily.
STEP 3
Load the cartridge into the gun and fit the mixing nozzle.
STEP 4
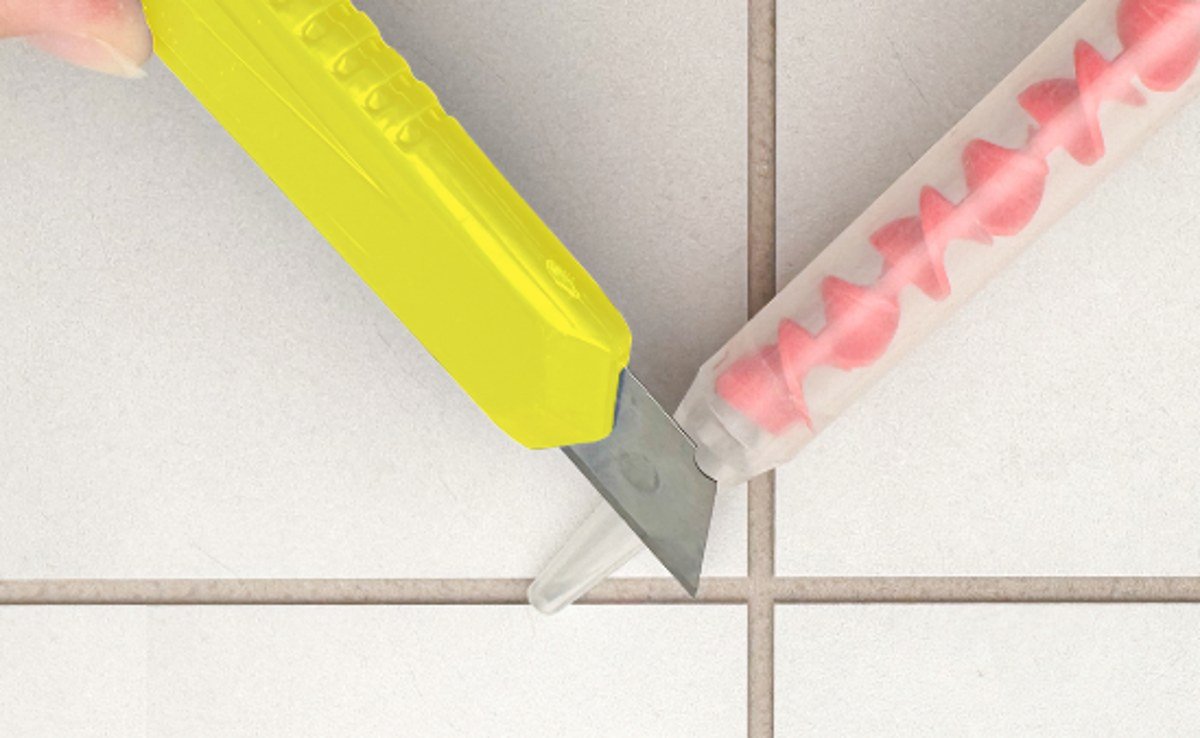
Cut the nozzle tip to match the joint width.
STEP 5
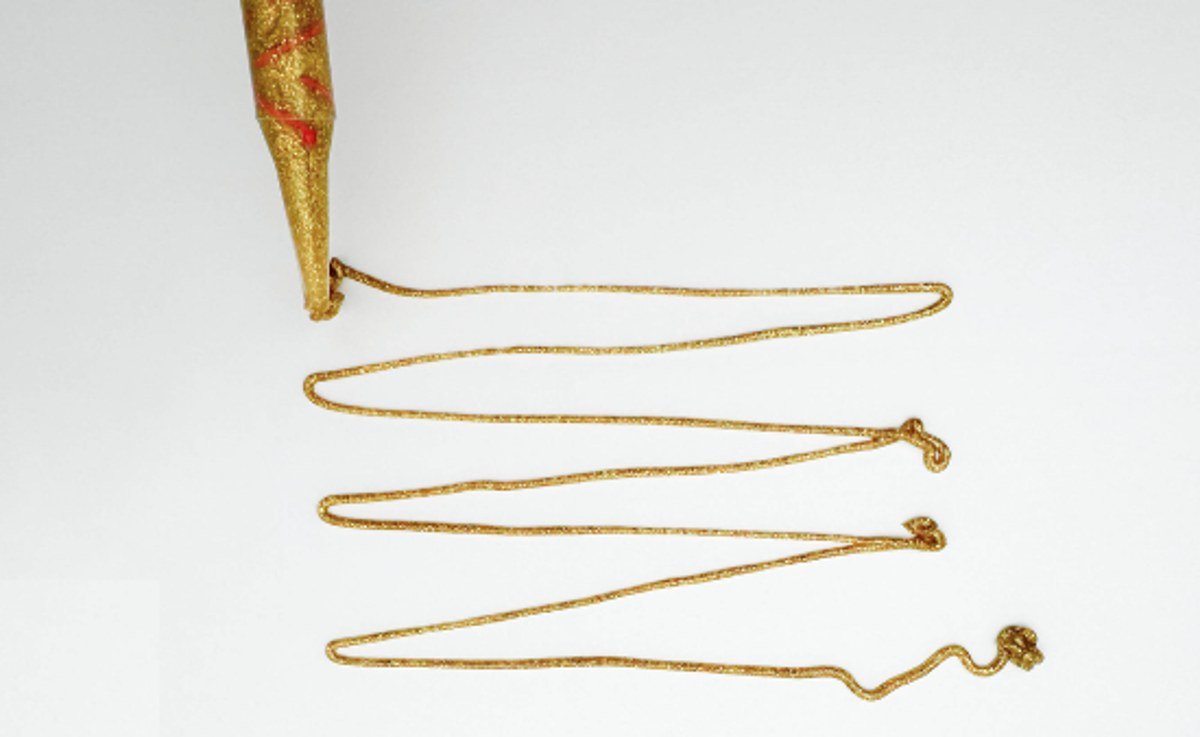
Discard the first 20–30 cm of grout until the two parts are evenly mixed.
STEP 6
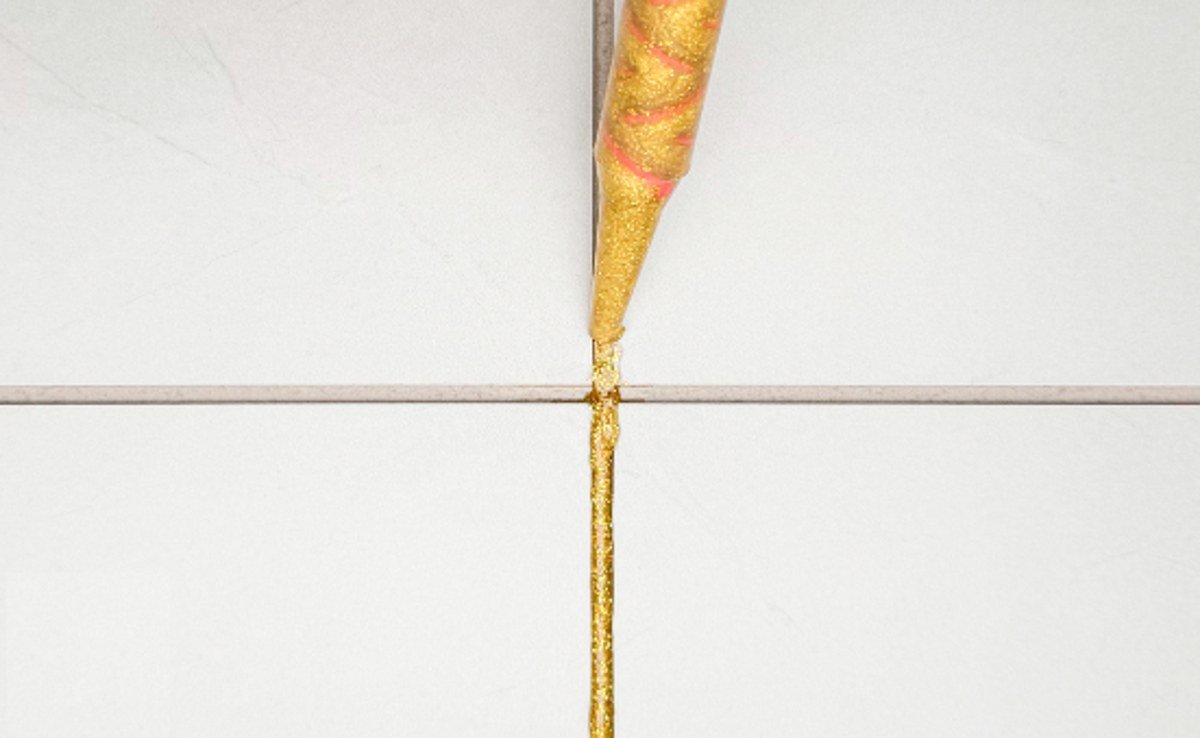
Squeeze the grout into the joint in one continuous bead.
STEP 7
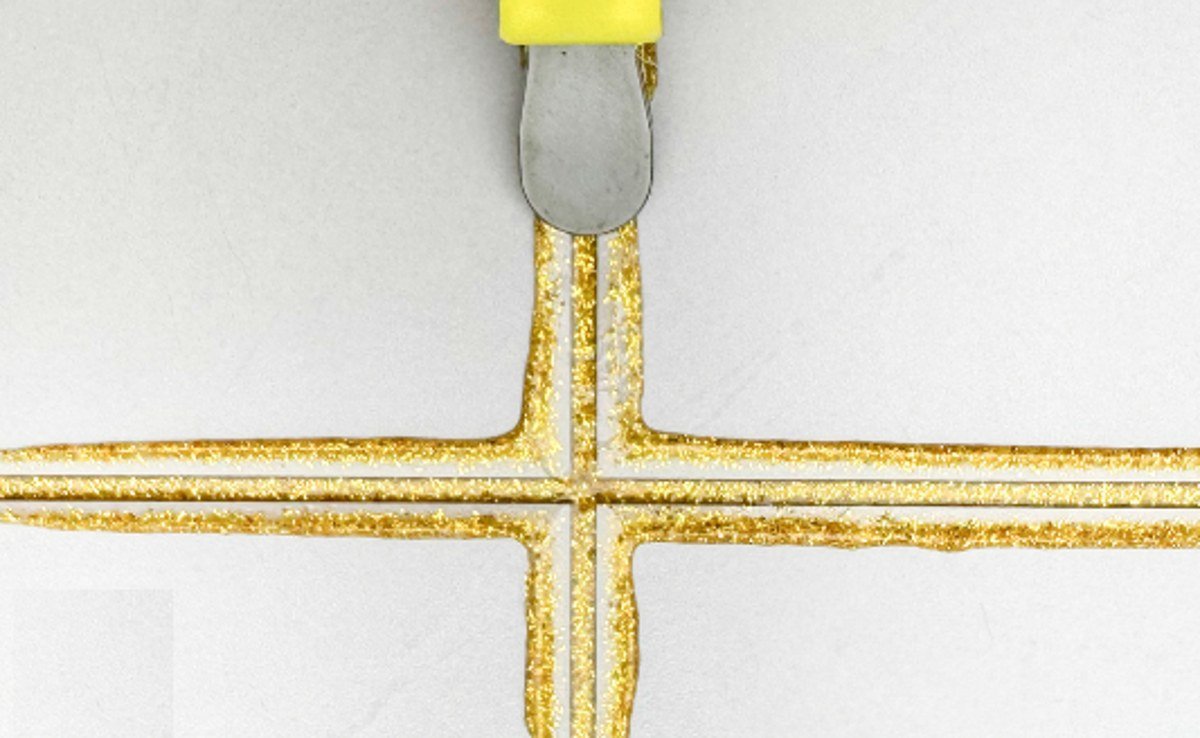
Press and smooth the bead with the press plate within 25 minutes.
STEP 8
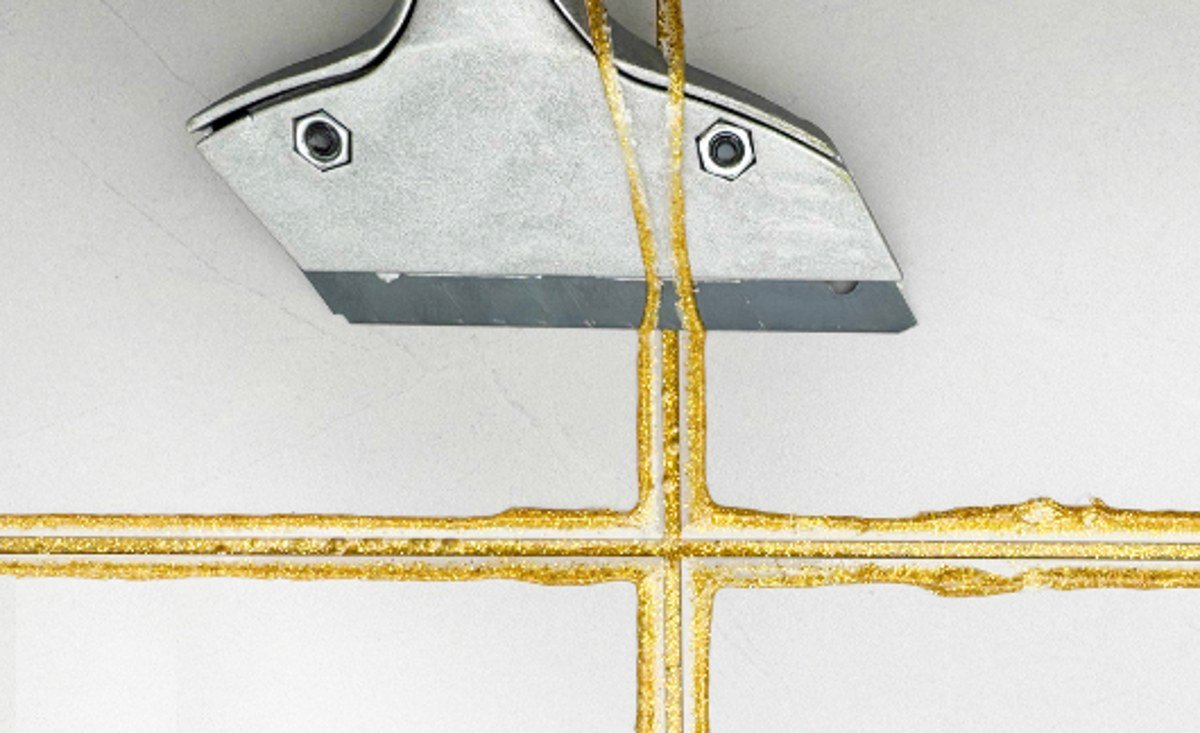
Once cured, shave off the excess with a scraper for a clean, level joint.
COLOUR CHART
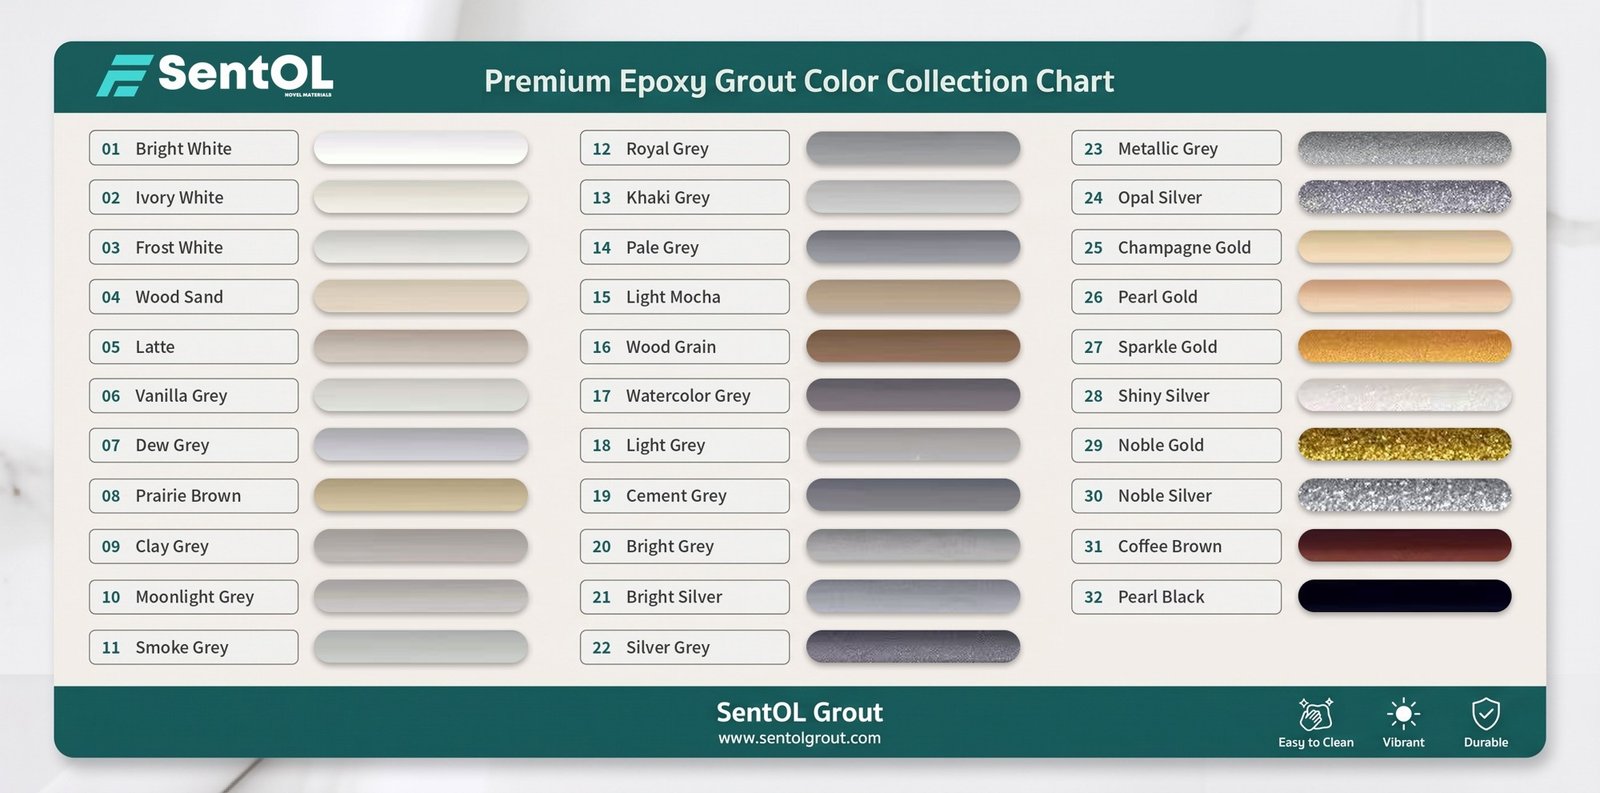
Glossy Finish — 32 Standard Colours
Cartridge Tile Grout comes in 32 glossy colours, from whites and greys to wood tones and metallic gold and silver. Every colour is pigmented in Part B, so the shade is consistent from the first cartridge to the last. Custom colours can be matched for private-label orders.
COLOUR CHART — MATTE
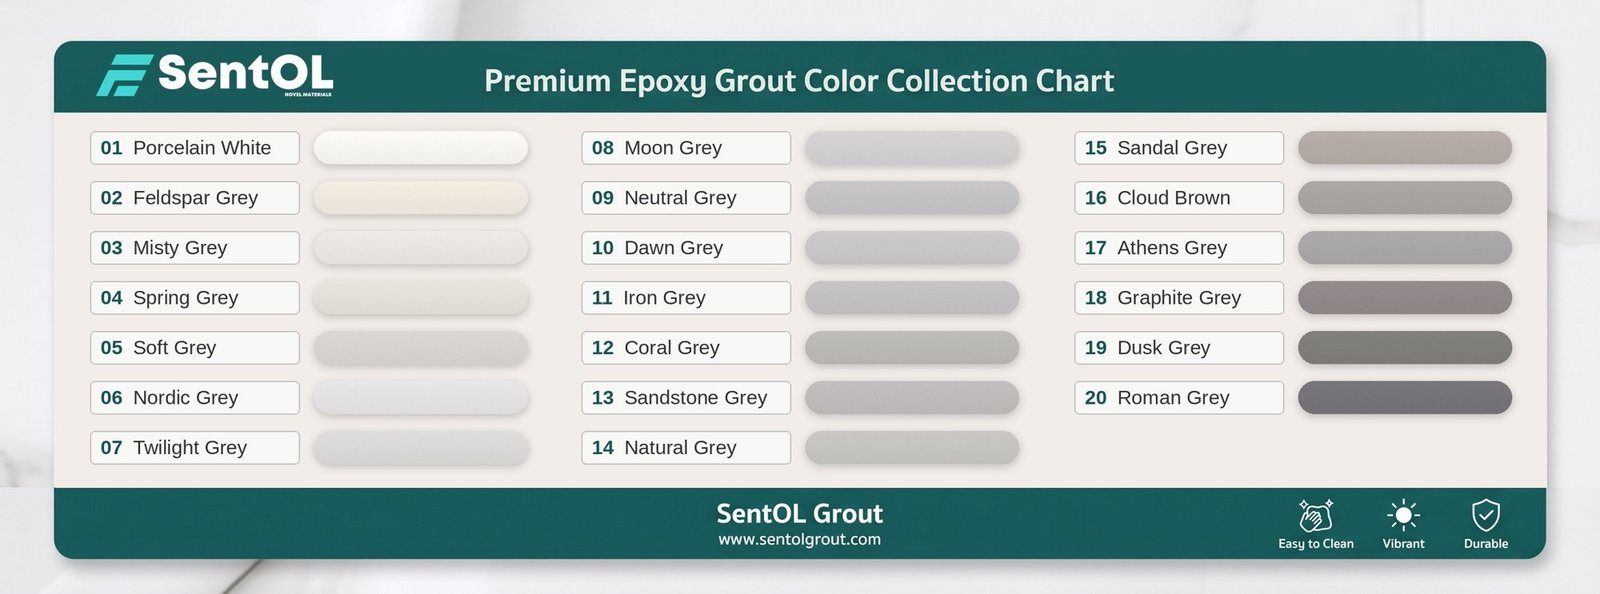
Matte (Sanded) Finish — 20 Colours
For a softer, low-sheen joint, the matte finish — known in China as the sanded version — is available in 20 colours, mostly whites and greys chosen to sit quietly beside ceramic, porcelain and stone tiles. Same epoxy formula and performance as the glossy range, without the shine.
Ask For A Quick Quote
We will contact you within 1 working day, please pay attention to the email with the suffix “@sentolpro.com”.